 跳到内容
跳到内容 


Cleanroom Gowning Process: Design It Right Before the Inspector Walks By
Gowning looks like a simple change of clothes, yet it is one of the most common GMP deficiency points. Learn the standard flow, the five most cited errors, and how five industries differ.
Get a Cleanroom Quote →- Standard gowning flow, step by step
- Five real-world deficiency points to self-check
- Gowning validation and garment management
A Small Change of Clothes, Cited as a GMP Deficiency
In 2024, a sterile medical device company went through a GMP on-site inspection. For three days, product, process, and validation all passed. On day four, the inspector stopped at the gowning area, watched for ten minutes, and issued two deficiencies.
Deficiency 1: gowning process inconsistent with the documented procedure. The procedure said “first gowning → handwashing → second gowning → buffer → air shower → clean area.” On site, the handwashing step had been skipped.
Deficiency 2: gowning room area did not match the number of personnel. The room was designed for 6 people, but 18 worked the day shift. At shift change, seven or eight people were crowded inside, garments rubbing and shoes stepping on each other.
The owner felt aggrieved: “We built the gowning room and wrote the procedure. Why the deficiencies?”
The answer: having it built does not mean it is done right, and having it written does not mean it is implemented. Gowning is the easiest step in a cleanroom to “simplify,” and one of the easiest places to bury hidden risk.
This article covers the background, the standard flow, common errors, and the differences across five industries.
Why Is the Gowning Process So Important?
Many people think gowning is just “changing clothes.” In reality, it is the first line of defense for the whole cleanroom.
The human body is the largest contamination source in a cleanroom. At rest, a person emits roughly 100,000 to 1,000,000 particles per minute. Walking, talking, or sneezing can raise that tenfold or even a hundredfold. These particles carry microorganisms, skin flakes, and fibers, and without proper gowning they land directly on the product.
The essence of gowning is reducing contamination layer by layer: remove dirty outer clothing, wash exposed skin, put on cleanroom garments to contain particles, then pass through an air shower and buffer to blow off what remains.
So a gowning room is not “a room partitioned off beside the corridor.” It is the first airlock of the cleanroom, and one of the places inspectors examine most closely.
The Standard Gowning Process: What Each Step Does
In pharmaceutical and sterile medical device plants, a common configuration looks like this:
- First gowning (remove outer clothing). Leave outer clothes, shoes, jewelry, and mobile phones here. Change into dedicated slippers or shoe covers.
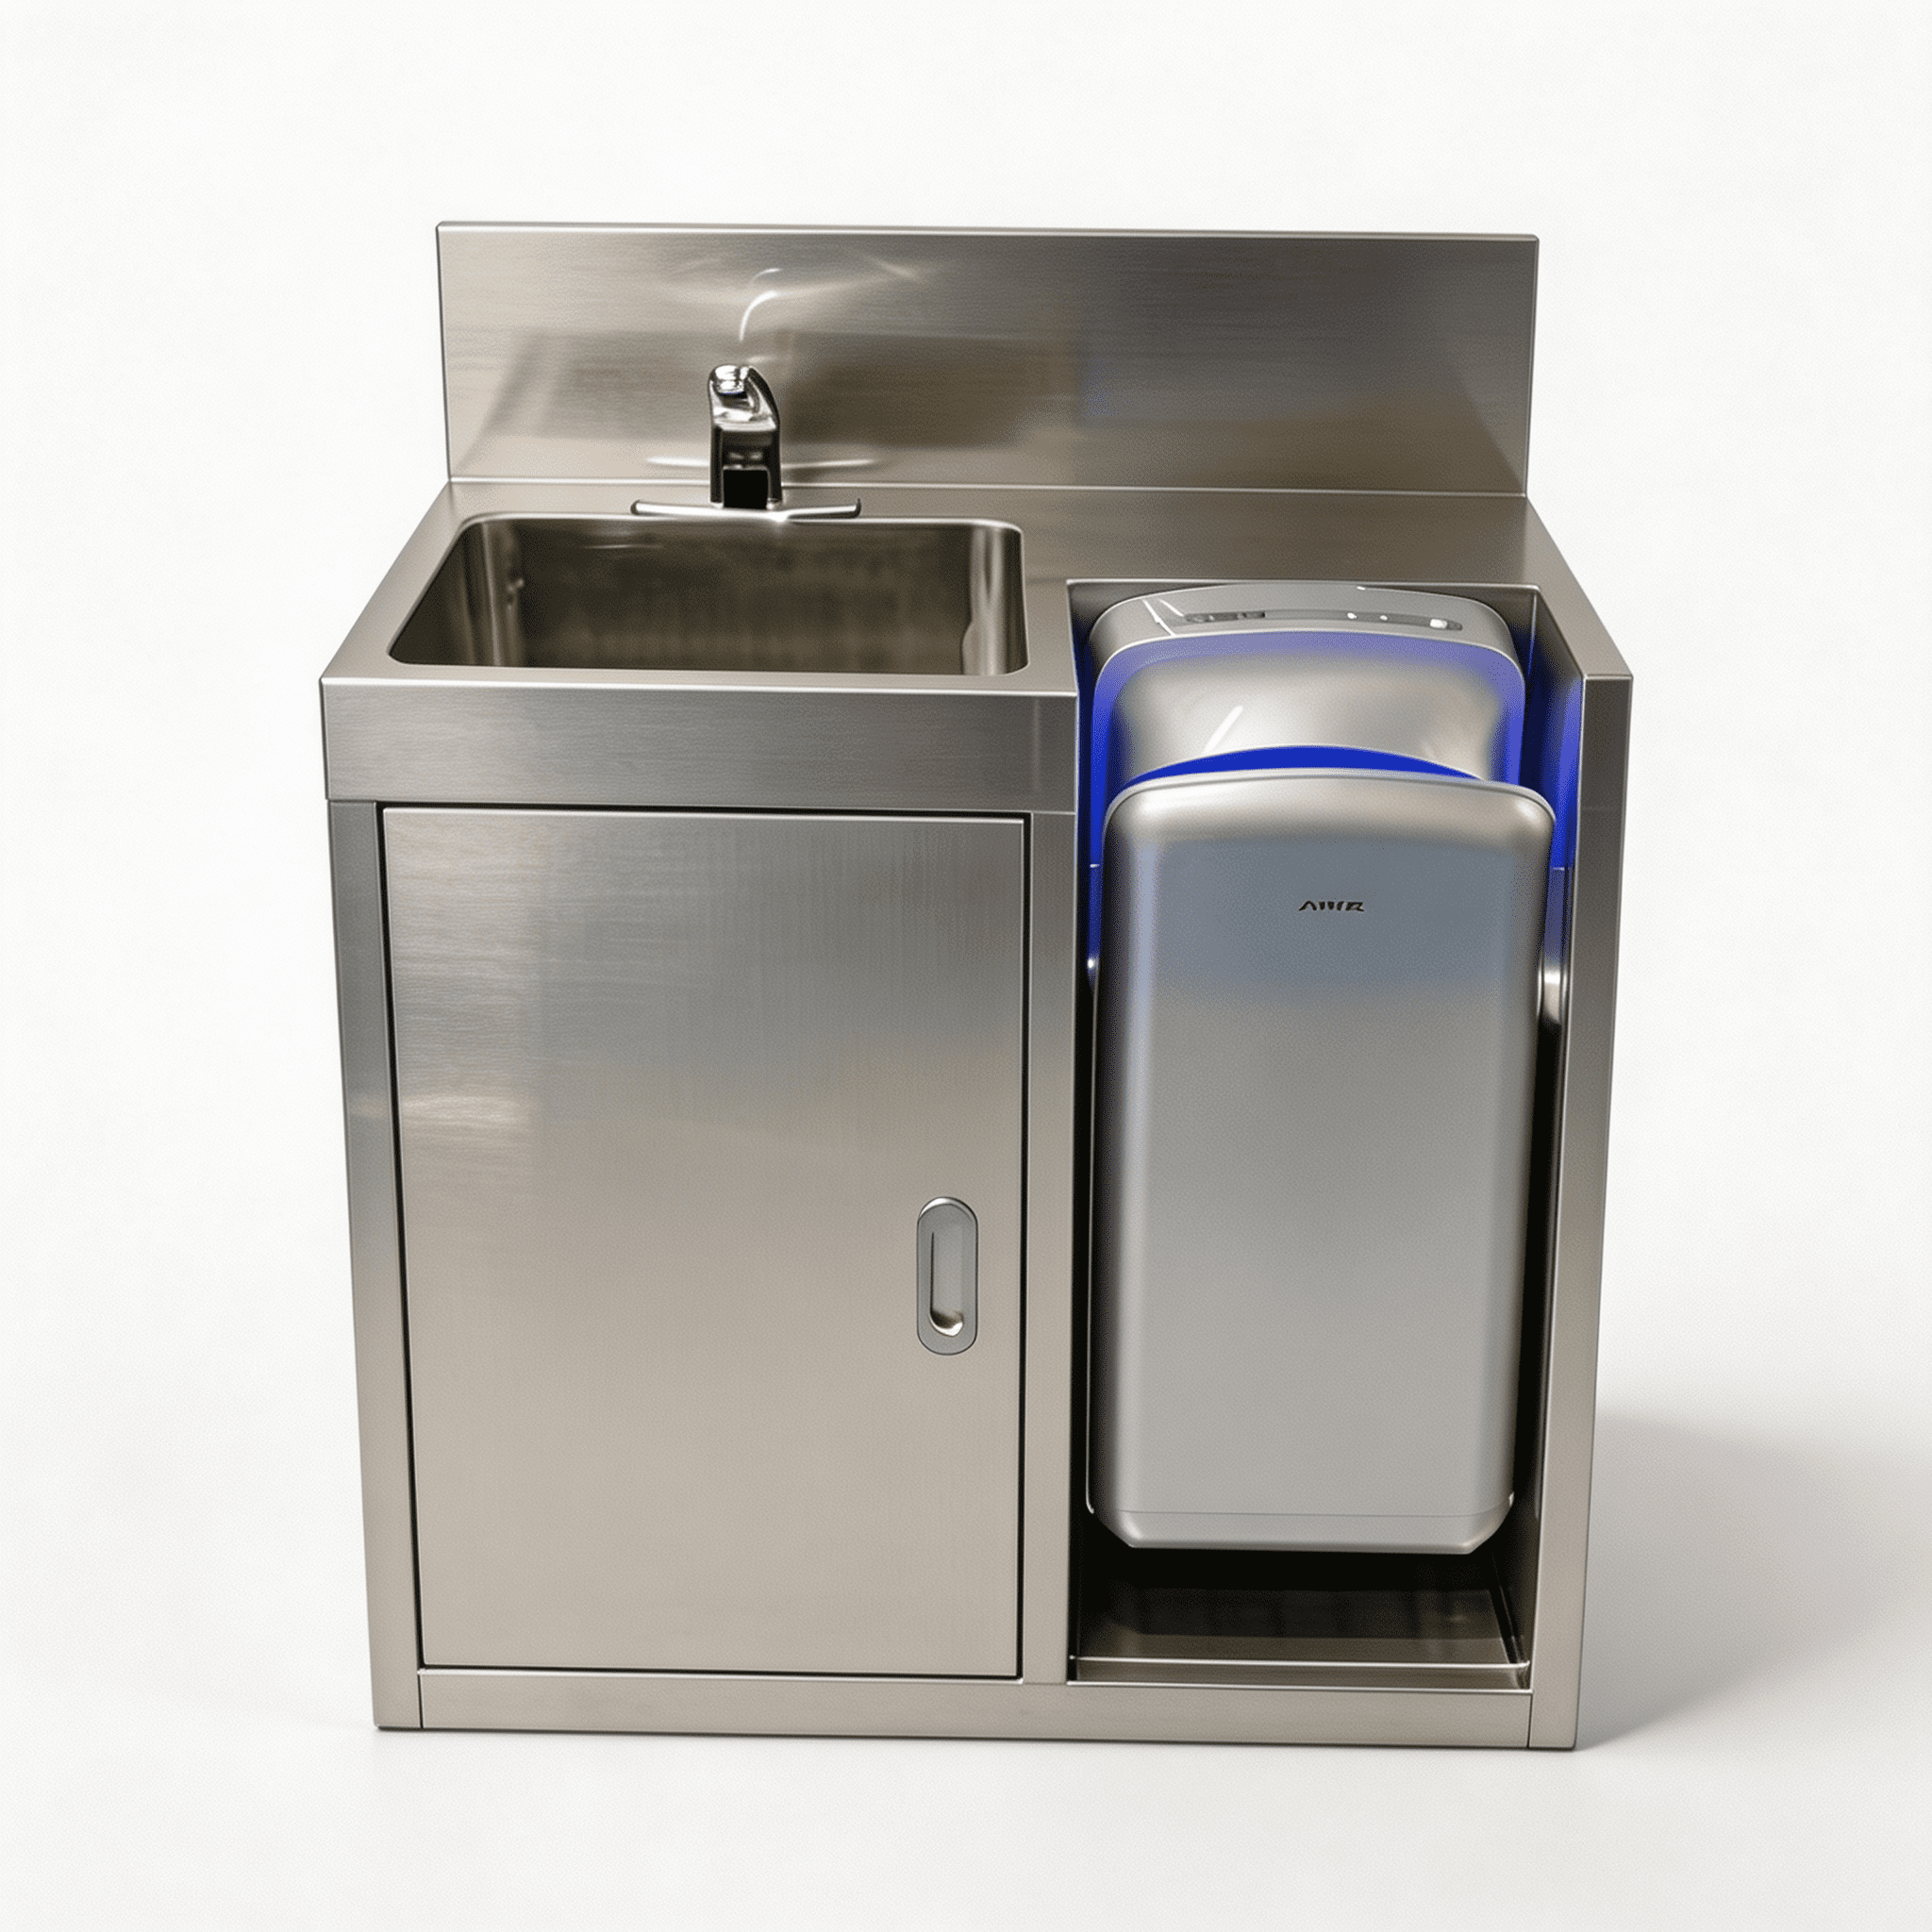
- Handwashing. Wash hands and forearms thoroughly with hand soap, then dry with an air dryer. This step is often omitted, yet it is key to controlling microorganisms on the hands. A Cleanroom Hand Washing Station placed on the mandatory route makes it impossible to skip.
- Second gowning (put on cleanroom garments). Put on coverall or two-piece suit, mask, cap, and gloves. Order matters: cap and mask first, then top and trousers, gloves last, so external contamination is not reintroduced.
- Buffer / air shower. Clean airflow blows loose particles off the garment surface, while the pressure gradient completes the transition from lower grade to higher grade.
- Enter the clean area. Pass the final door into the production area.
⚠️ Key reminder
Different grades need different gowning. Grade D (Class 100,000) may only need first gowning plus cleanroom garments. Grade C (Class 10,000) adds a buffer or air shower. Grade B and aseptic areas require the complete process, and sometimes two gowning steps. The length of the process is set by product risk: more complex is not always better, but it must never be casually simplified.
Five Places Most Easily Cited as Deficiencies
Based on inspection findings in recent years, these are the five most common gowning-area problems. Use them as a self-check list.
1. The handwashing step was “optimized away”
Reasons vary: no sink was installed, the sink is too far away, or people think “we wear gloves anyway.”
Root cause: handwashing was left out of the flow during design, or the sink was cut during construction.
Consequence: hands are a major contamination route. Contamination left on the hands ends up inside the gloves and then on the product. An inspector also sees an incomplete process at a glance.
Correct practice: place the sink on the mandatory route between first and second gowning. Equip it with a sensor faucet, disinfectant soap, and a hand dryer (no towels, which are a contamination source). Mark the location clearly so no one can bypass it.
2. The gowning room area does not match the number of people
Many rooms are designed for a static headcount, and the problem only appears half a year after production starts.
Root cause: lockers were counted from the clean-area headcount, without calculating how many people gown at the same time.
Consequence: at peak, garments rub, shoes collide, and people queue and sweat, which adds contamination. A packed gowning room invites a deficiency at first glance.
Correct practice: area = peak simultaneous gowning headcount × area per person (generally from 2–3 m² per person, more for aseptic areas). Match locker count and throughput to the shift schedule. If shift changes are concentrated, stagger gowning times or add a gowning room.
3. The airflow direction in the gowning room is reversed
The gowning room must control airflow too: from the higher-grade side to the lower-grade side, “clean to dirty.”
Root cause: supply and exhaust are shared with the clean area, or supply and return outlets are in the wrong positions, so air flows from the lower-grade first gowning room into the second.
Consequence: contaminated air is carried into the second gowning room, and garments are contaminated as soon as they go on. Pressure differential may measure “qualified” while the process is still only nominal.
Correct practice: keep the second gowning room positive to the first. Put the supply outlet on the second gowning side and the return outlet on the first. During validation, run a smoke test as well as a pressure measurement.
4. Lockers are poorly sealed, so dirty clothes and cleanroom garments cross-contaminate
Root cause: ordinary iron cabinets were bought to “wardrobe” standards, with outside clothes and cleanroom garments mixed together.
Consequence: bacteria and fibers transfer between them. Employees put on garments that look clean but are not, and every earlier step is wasted.
Correct practice: use cleanroom-specific lockers with separate upper and lower layers (cleanroom garments above, street clothes below), sealed doors, and easy-to-clean material with no dead corners. If possible, use individually sealed “one person, one cabinet” units.
5. The air shower room has become a decoration
The unit is installed, but it is broken and unrepaired, or employees find it troublesome and walk around it.
Root cause: the unit sits outside the mandatory route, or management allows “special cases” to bypass it.
Consequence: if an inspector sees staff entering the clean area without passing the air shower, it can be judged a serious, systemic “gowning out of control” deficiency.
Correct practice: install the air shower room on the only passage into the clean area, with interlocked doors on both sides. State clearly that bypassing it is a violation. Check wind speed, nozzles, sealing, and interlock function at least monthly.
 An interlocked air shower room on the only route into the clean area
 Building or upgrading a cleanroom gowning area?
We are a lab fume hood and lab furniture manufacturer. Tell us your layout and headcount, and we will supply the matching equipment and a clear quote.
Request a Free Quote →Five Industries: Differences in Gowning Processes
There is no single gowning process for the whole world. Each industry has its own emphasis.
Pharmaceuticals
Strictest, layered by grade. Grade D: first gowning plus cleanroom garments. Grade C: adds handwashing, second gowning, and buffer. Grade B aseptic: complete flow plus air shower and sterile garments, sometimes two layers. GMP requires gowning validation with microbial sampling of gloves.
Food
Under GB 14881-2013, handwashing and disinfection are hard requirements, while cleanroom garments and air showers are optional. Raw and cooked area personnel must be strictly separated and cannot share clothing.
Cosmetics
Under ISO 22716, product-contact areas such as filling and emulsification need gowning plus handwashing and disinfection. Auxiliary areas can be simplified. The focus is preventing cross-contamination between product lines.
Medical Devices
Sterile devices (syringes, infusion sets, implants) follow pharmaceutical aseptic practice: full gowning, air shower, and personnel monitoring. Non-sterile devices need gowning and handwashing, with a clear process and records.
Health Foods
Depends on dosage form. Tablets and capsules need dust control and handwashing. Oral liquids and probiotics sit close to pharmaceutical requirements. The common mistake is a one-size-fits-all process, either too simple or too complex.
Three Hard Rules for Gowning Area Design
Whatever the industry, write these three rules into the design brief.
- The flow must be one-way. From lower to higher grade, people only move forward. Door direction, interlocks, and floor markings should all prevent backtracking.
- The gowning room needs independent air conditioning. It is a contamination transition zone. Its supply and exhaust should be independent from the production area, or at least separately zoned. Keep temperature and humidity comfortable, because sweat adds contamination.
- Throughput needs margin. Reserve capacity at peak headcount × 1.2–1.5. When a company adds people or shifts, the gowning room is the first place to jam. Lockers, sinks, and air showers should all follow the margin.
🔢 Three-step self-check
Step 1, draw the flow: is it one-way from lower to higher grade, with no return path?
Step 2, check capacity: are the room, air shower, and lockers enough for peak headcount × margin?
Step 3, verify airflow: does pressure differential and airflow direction run “clean to dirty”?
Cleanroom Garments: The Other Half of Gowning
Many people treat cleanroom garments as white lab coats. This is the biggest misunderstanding in gowning management. A lab coat blocks dirt from reaching you. A cleanroom garment isolates you, keeping the particles and microorganisms your body emits inside the clothing.
- Material: anti-static, non-shedding, non-linting, commonly polyester filament fabric.
- Design: coveralls isolate better than two-piece suits because the waist does not open and leak particles. Aseptic areas must use coveralls.
- Grade: Grade D uses ordinary cleanroom garments; Grade B aseptic areas use sterilized garments.
Cleaning, sterilization, and replacement
Garment wear accumulates: each wash loses fibers and dust-proof performance. Set defined cycles and record them.
- Cleaning cycle: usually one set per shift or daily, depending on grade and product risk.
- Sterilization: Grade B garments must be sterilized before use and carry an expiry date.
- Replacement: discard garments that are damaged, pilling, or have lost anti-static performance. Do not mend and wear them for another three years.
- Dedicated use: where possible, one person, one numbered garment.
🏗️ Case: a garment failure
A pharmaceutical solid-dose workshop cleaned garments centrally but never recorded the cycles, and wore them for three years. Employees said they felt stuffier and pilled more. Particle monitoring showed fiber shedding was slowly raising workshop counts. After full replacement, the data returned to normal. The inspector then asked for the scrapping standard. The company could not answer, and another deficiency was issued.
Putting on garments is a technical job
The order is: cap (hair fully covered), mask (straps under the cap), top with zipper fully closed, trousers, and finally gloves with cuffs over the sleeves. Put the clothes on before the cap, and hair can fall into the collar and contaminate the inner surface. After dressing, check zipper, cuffs, gloves, and mask coverage. Inspectors spot-check these details.
Gowning Validation: Proving the Gowning Is Qualified
However standardized the process, data must prove it works. Gowning validation tests the microbial and particle levels people carry after gowning.
- Determine sampling points. Glove surface (five fingers), forearms, garment chest, and mask edges: the areas most likely to touch product or leak contamination.
- Sample and test. Press RODAC contact plates, culture, and count colonies against the limits for your cleanroom grade.
- Establish a baseline. Validate every new employee. Only those who pass may work in the aseptic area. Failures are retrained and revalidated.
- Monitor continuously. Sample quarterly or semiannually and trend the data. If someone repeatedly exceeds limits, investigate: nonstandard gowning, a garment problem, or a skin condition.
This data is key evidence in GMP inspections. When asked how you prove personnel will not contaminate product, complete records, normal trends, and handled exceedances show management is in place. Training records alone are empty talk.
⚠️ Do not ignore gowning validation
It is not for the inspector. It is for the product. Every gowning in a sterile workshop is a potential contamination event, and without data you cannot even trace the cause when problems appear.
After Production Starts: Managing the Gowning Process
A correct design still fails if management cannot keep up. Three details are often overlooked:
- Post and train. Display gowning steps, dressing order, and precautions with illustrations. Train new hires hands-on and refresh existing staff every six months. Inspectors randomly ask employees how they gown.
- Validate afterward. Monitor personnel microbes after gowning, analyze the data, and retrain or change garments for repeat offenders.
- Clean and disinfect the gowning area. Floors, walls, lockers, and sinks need daily cleaning, periodic disinfection, and retained records.
🏗️ Case: a management failure
A cosmetics company had a sound gowning design but loose management. Staff skipped handwashing, and lockers held snacks and phones. Glove sampling in the filling room exceeded the microbial limit, and tracing showed nonstandard gowning. The fix: cameras in the gowning area, a posted flow chart, daily recorded disinfection, and retraining. One month later, the data returned to normal.
One-Sentence Summary
Gowning design is complex if you make it complex, since you must manage flow, area, airflow, and equipment. It is simple if you remember one core idea: before people enter the clean area, leave contamination outside layer by layer.
For owners, the gowning area is a small investment with a big impact. Spend a little more to design and equip it well, and you get smooth inspections, stable products, and compliant staff. Save that money, and you get deficiencies, product contamination, and renovation rework.
Next time someone says “just do the gowning room casually,” ask them: do you want to save money on the gowning room, or gamble on product quality?
Get your gowning area right the first time
From hand washing stations and air shower rooms to lab fume hoods and lab furniture, we manufacture and supply the equipment your cleanroom needs.
Talk to Our Team →
